

Advertisement

 Easily, my favorite part of springtime are all of the blooms. Daffodils are among the most iconic springtime flowers, so today I wanted to talk about how to arrange these beauties! First, a few facts about these flowers:
1. A bunch of daffodils is considered good luck and a sign of happiness to come!
2. They can flower anywhere from six weeks to six months depending on their growing conditions.
3. The sap of the daffodil is said to be poisonous to other flowers and can shorten their lifespan in an arrangement, so it’s best to either arrange them on their own OR you can cut the stems and soak them in water on their own for about an hour—that should make it safe to mix them with other blooms. Also, on this note, daffodils are considered toxic by the National Poison Control Center, so keep these away from your kiddos and your pets.
Now that we know what we’re working with, I’ll show you how to arrange daffodils in a vase!
 Supplies:
-I used a little under two dozen blooms for this arrangement (this all kind of depends on the size of your blooms, I’m working with double daffodils for reference!)
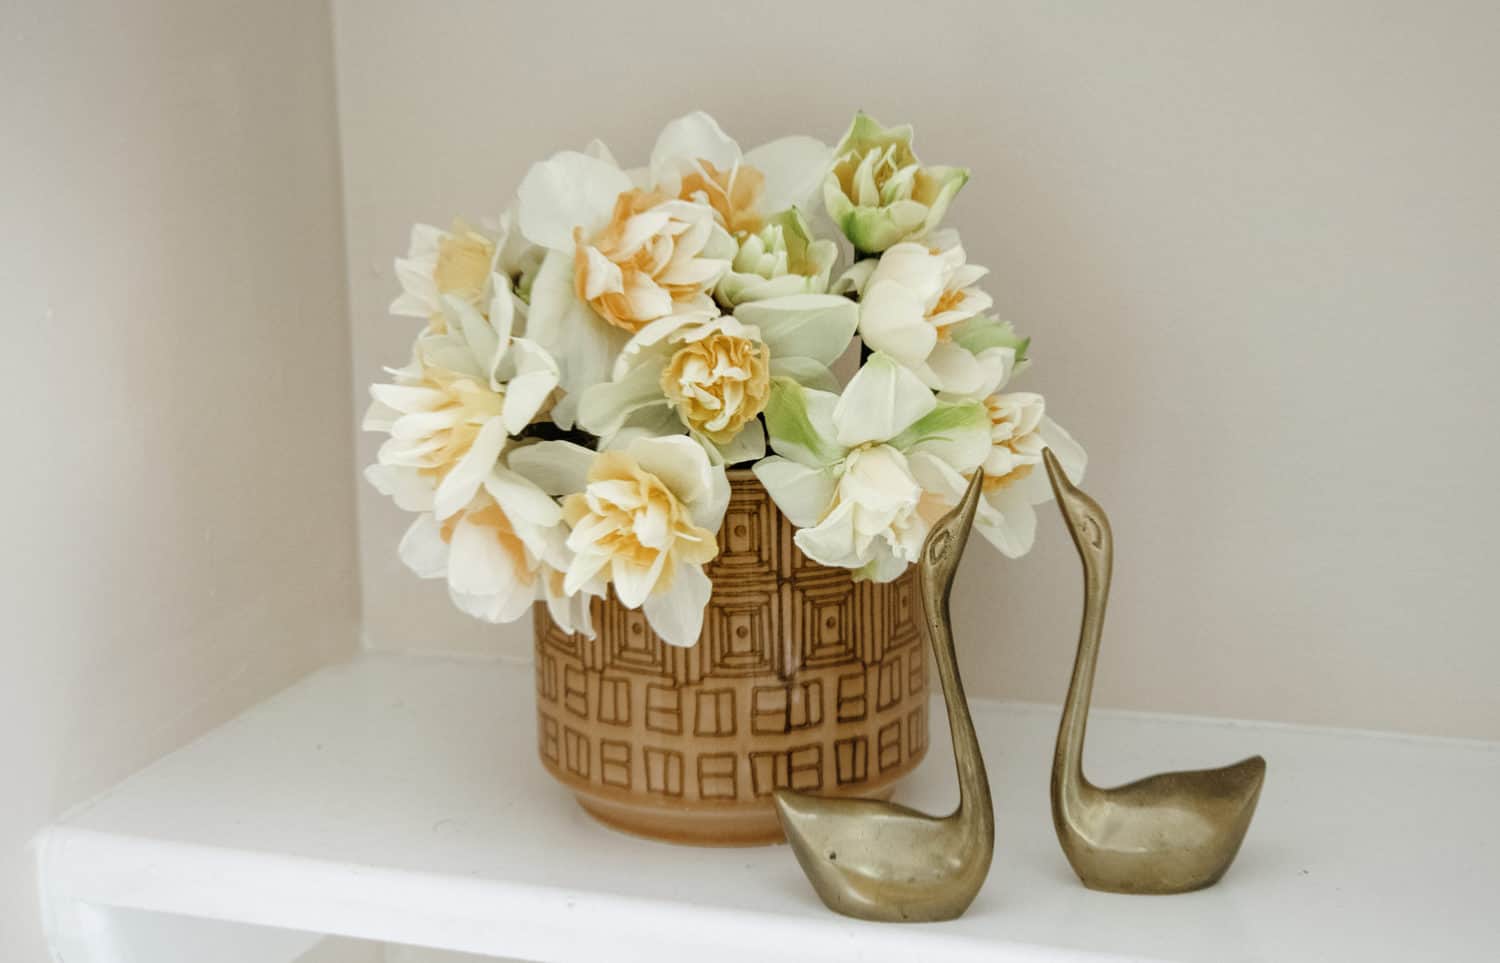
–A smaller vase (this one is 5″ in diameter and about 5″ tall—I like the arrangement to look really full and voluminous)
-Clear 1/4″ clear floral tape
-Floral shears
-Flower food

The first step is prepping your vase. Use your clear floral tape to make a hashtag shape on the rim of your vase.
This will help you get a little leverage on the positioning of your flowers later on, and it doesn’t have to be perfectly straight. I also like to put the flower food in on this step.
Next, it’s time to trim your stems. Hold them up to your vase to determine how short you need to cut them. Remember that old rule, you can always cut shorter but you can’t make them longer, so err on the side of caution for your first few trims. 🙂
Once you’re ready to snip, do so at a 45° angle—this allows for better water uptake.

For this arrangement, I’m building it almost like a layer cake. My first layer is resting on the lip of the vase.
For the next layer, the flowers will be resting on the first layer, and so on until you get to the top blooms that will “round it out.” This is also the step where I like to fill my vase with water.

Once you get to the top, space out your flowers so that all of your empty spaces are covered.

Put them somewhere you’ll be able to enjoy them! Refresh their water and food every couple of days, and you’re good to go. 🙂 xo, Keely
Love this post? Check out How to Arrange Tulips in a Vase!
Advertisement
